Claude Desktop Integration
There are two ways to connect Claude Desktop to PortDive:
- Remote Connector (recommended) — no install, OAuth login, automatic token refresh.
- Local install (stdio) — binary on your Mac, personal access token.
For most users the Remote Connector is the simplest path.
Remote Connector (recommended)
Prerequisites
- Claude Desktop with a Pro or Max plan (the Connectors feature is part of those plans)
- A PortDive account
1. Open Connectors settings
In Claude Desktop, open Settings → Connectors. You see your active connectors and an Add custom connector button at the bottom:
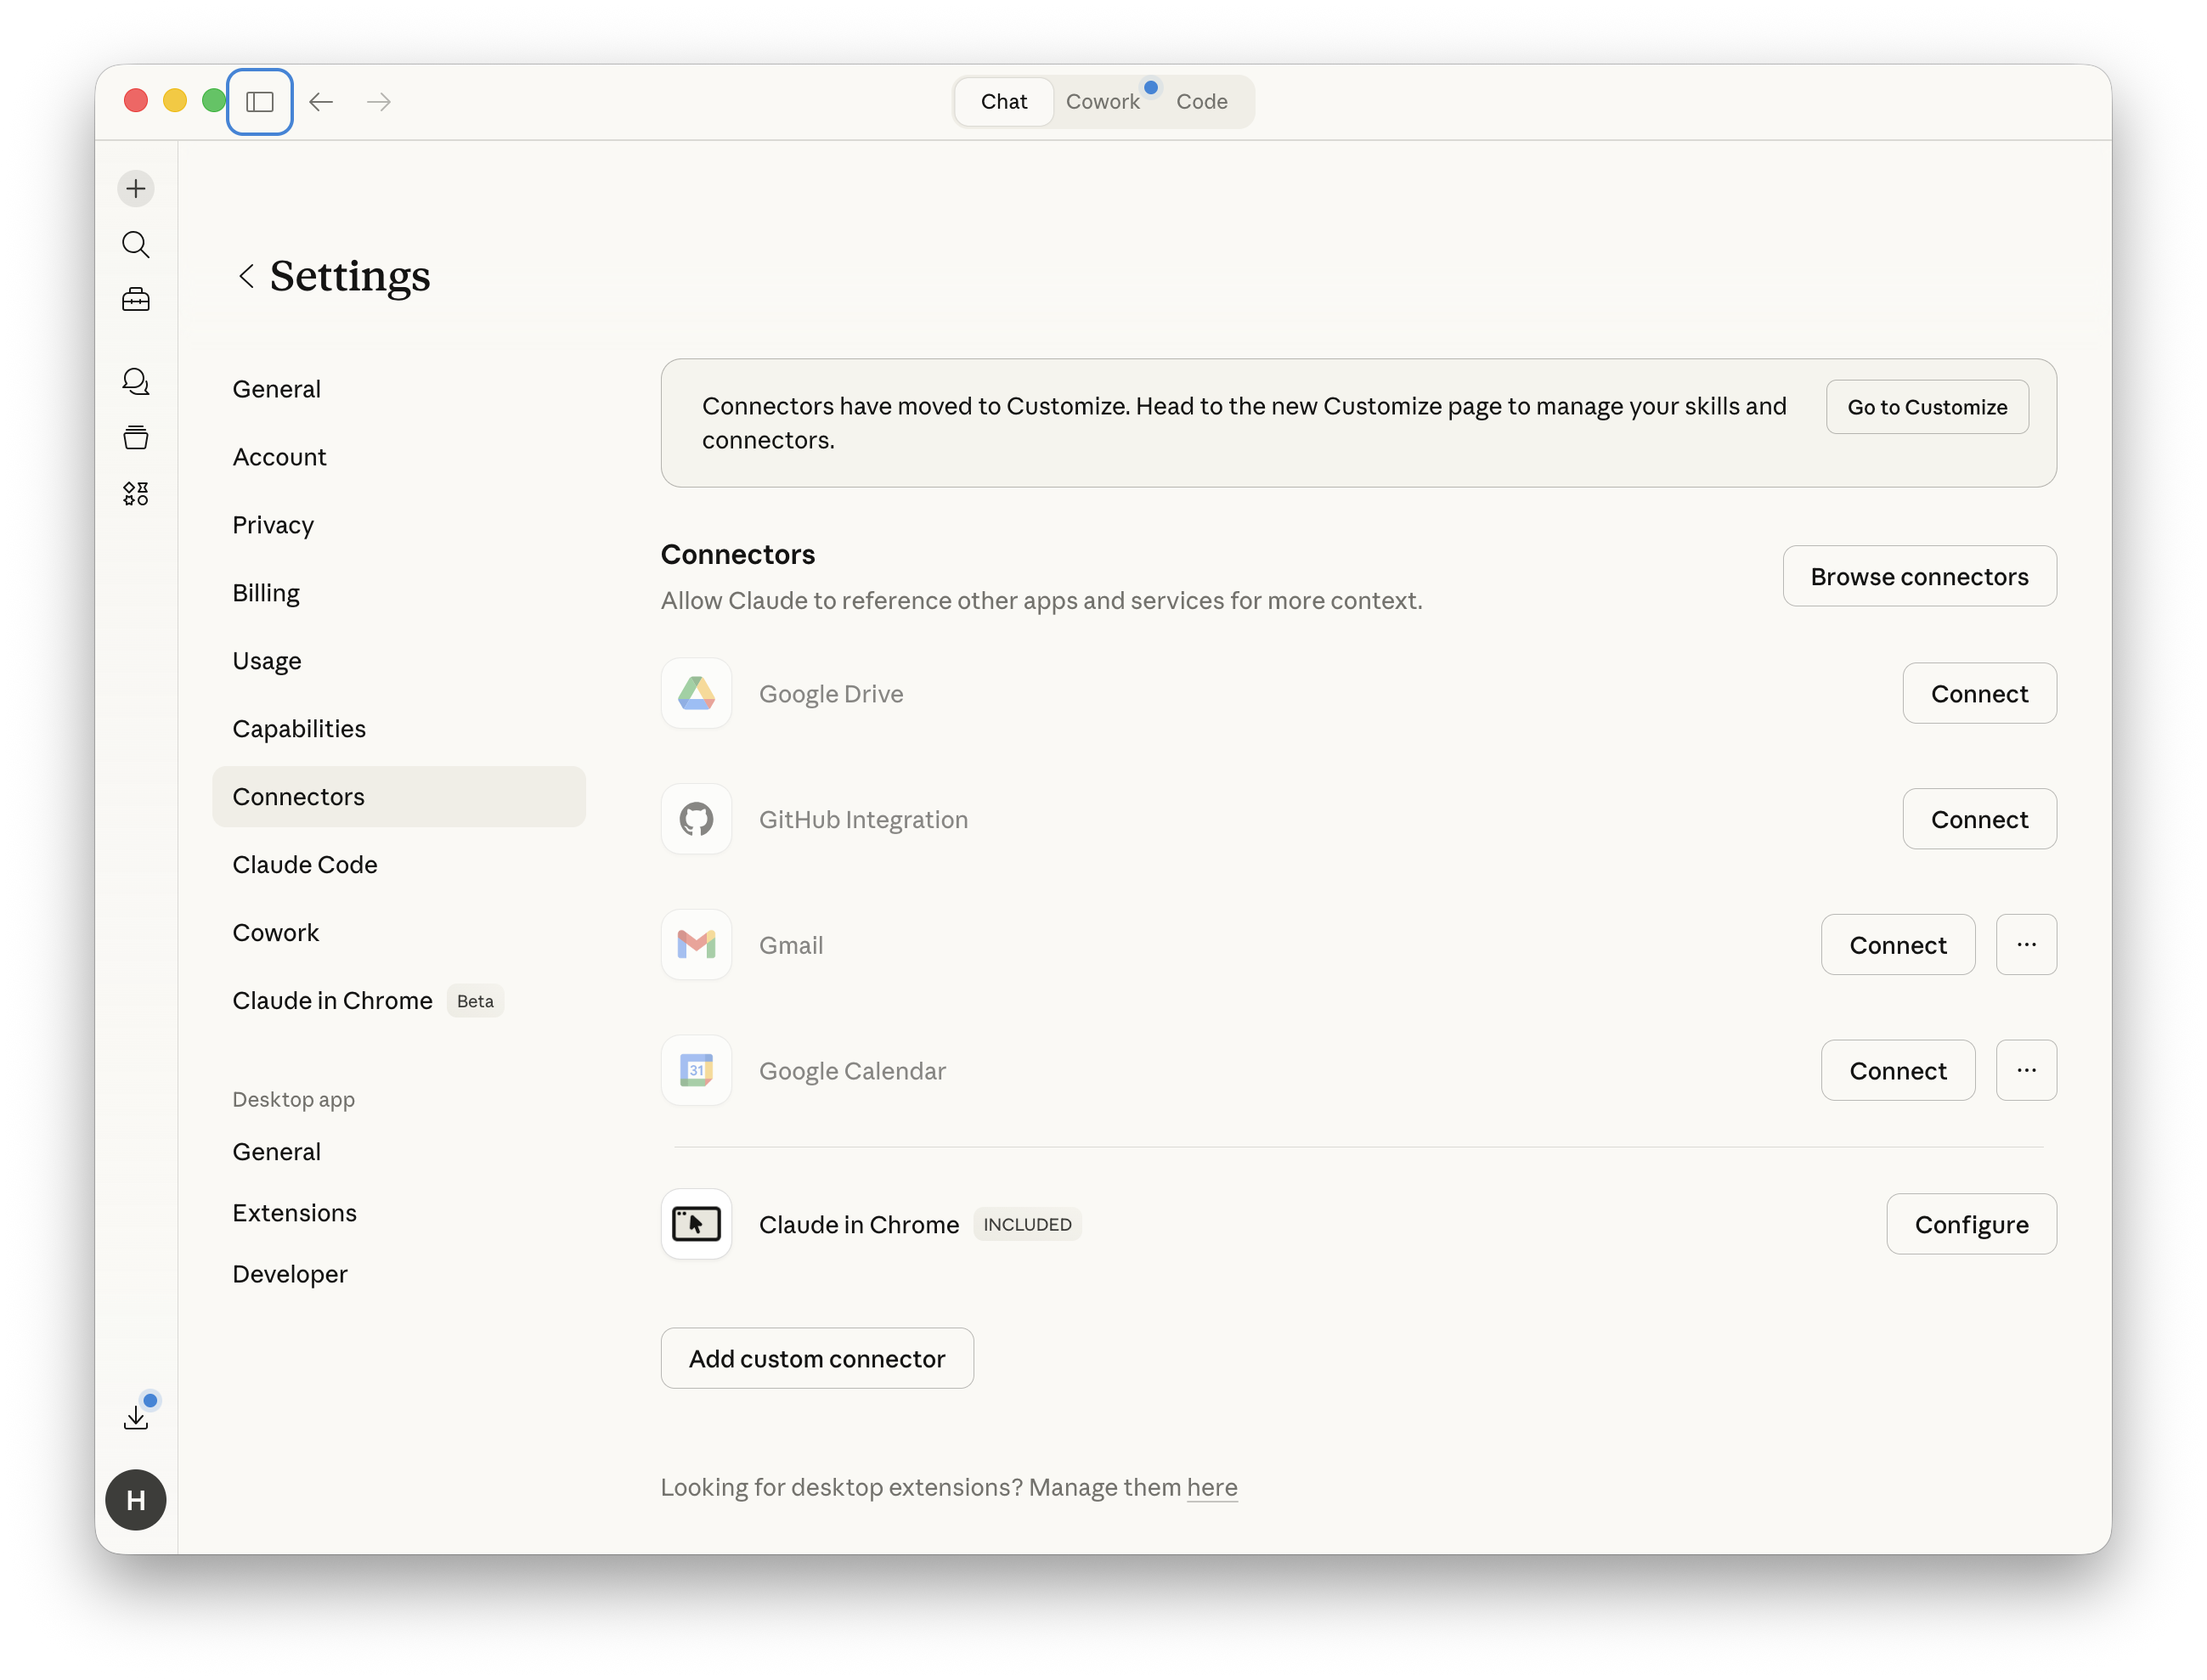
2. Add a custom connector
Click Add custom connector and fill in:
- Name:
portdive - URL:
https://mcp.portdive.app/mcp
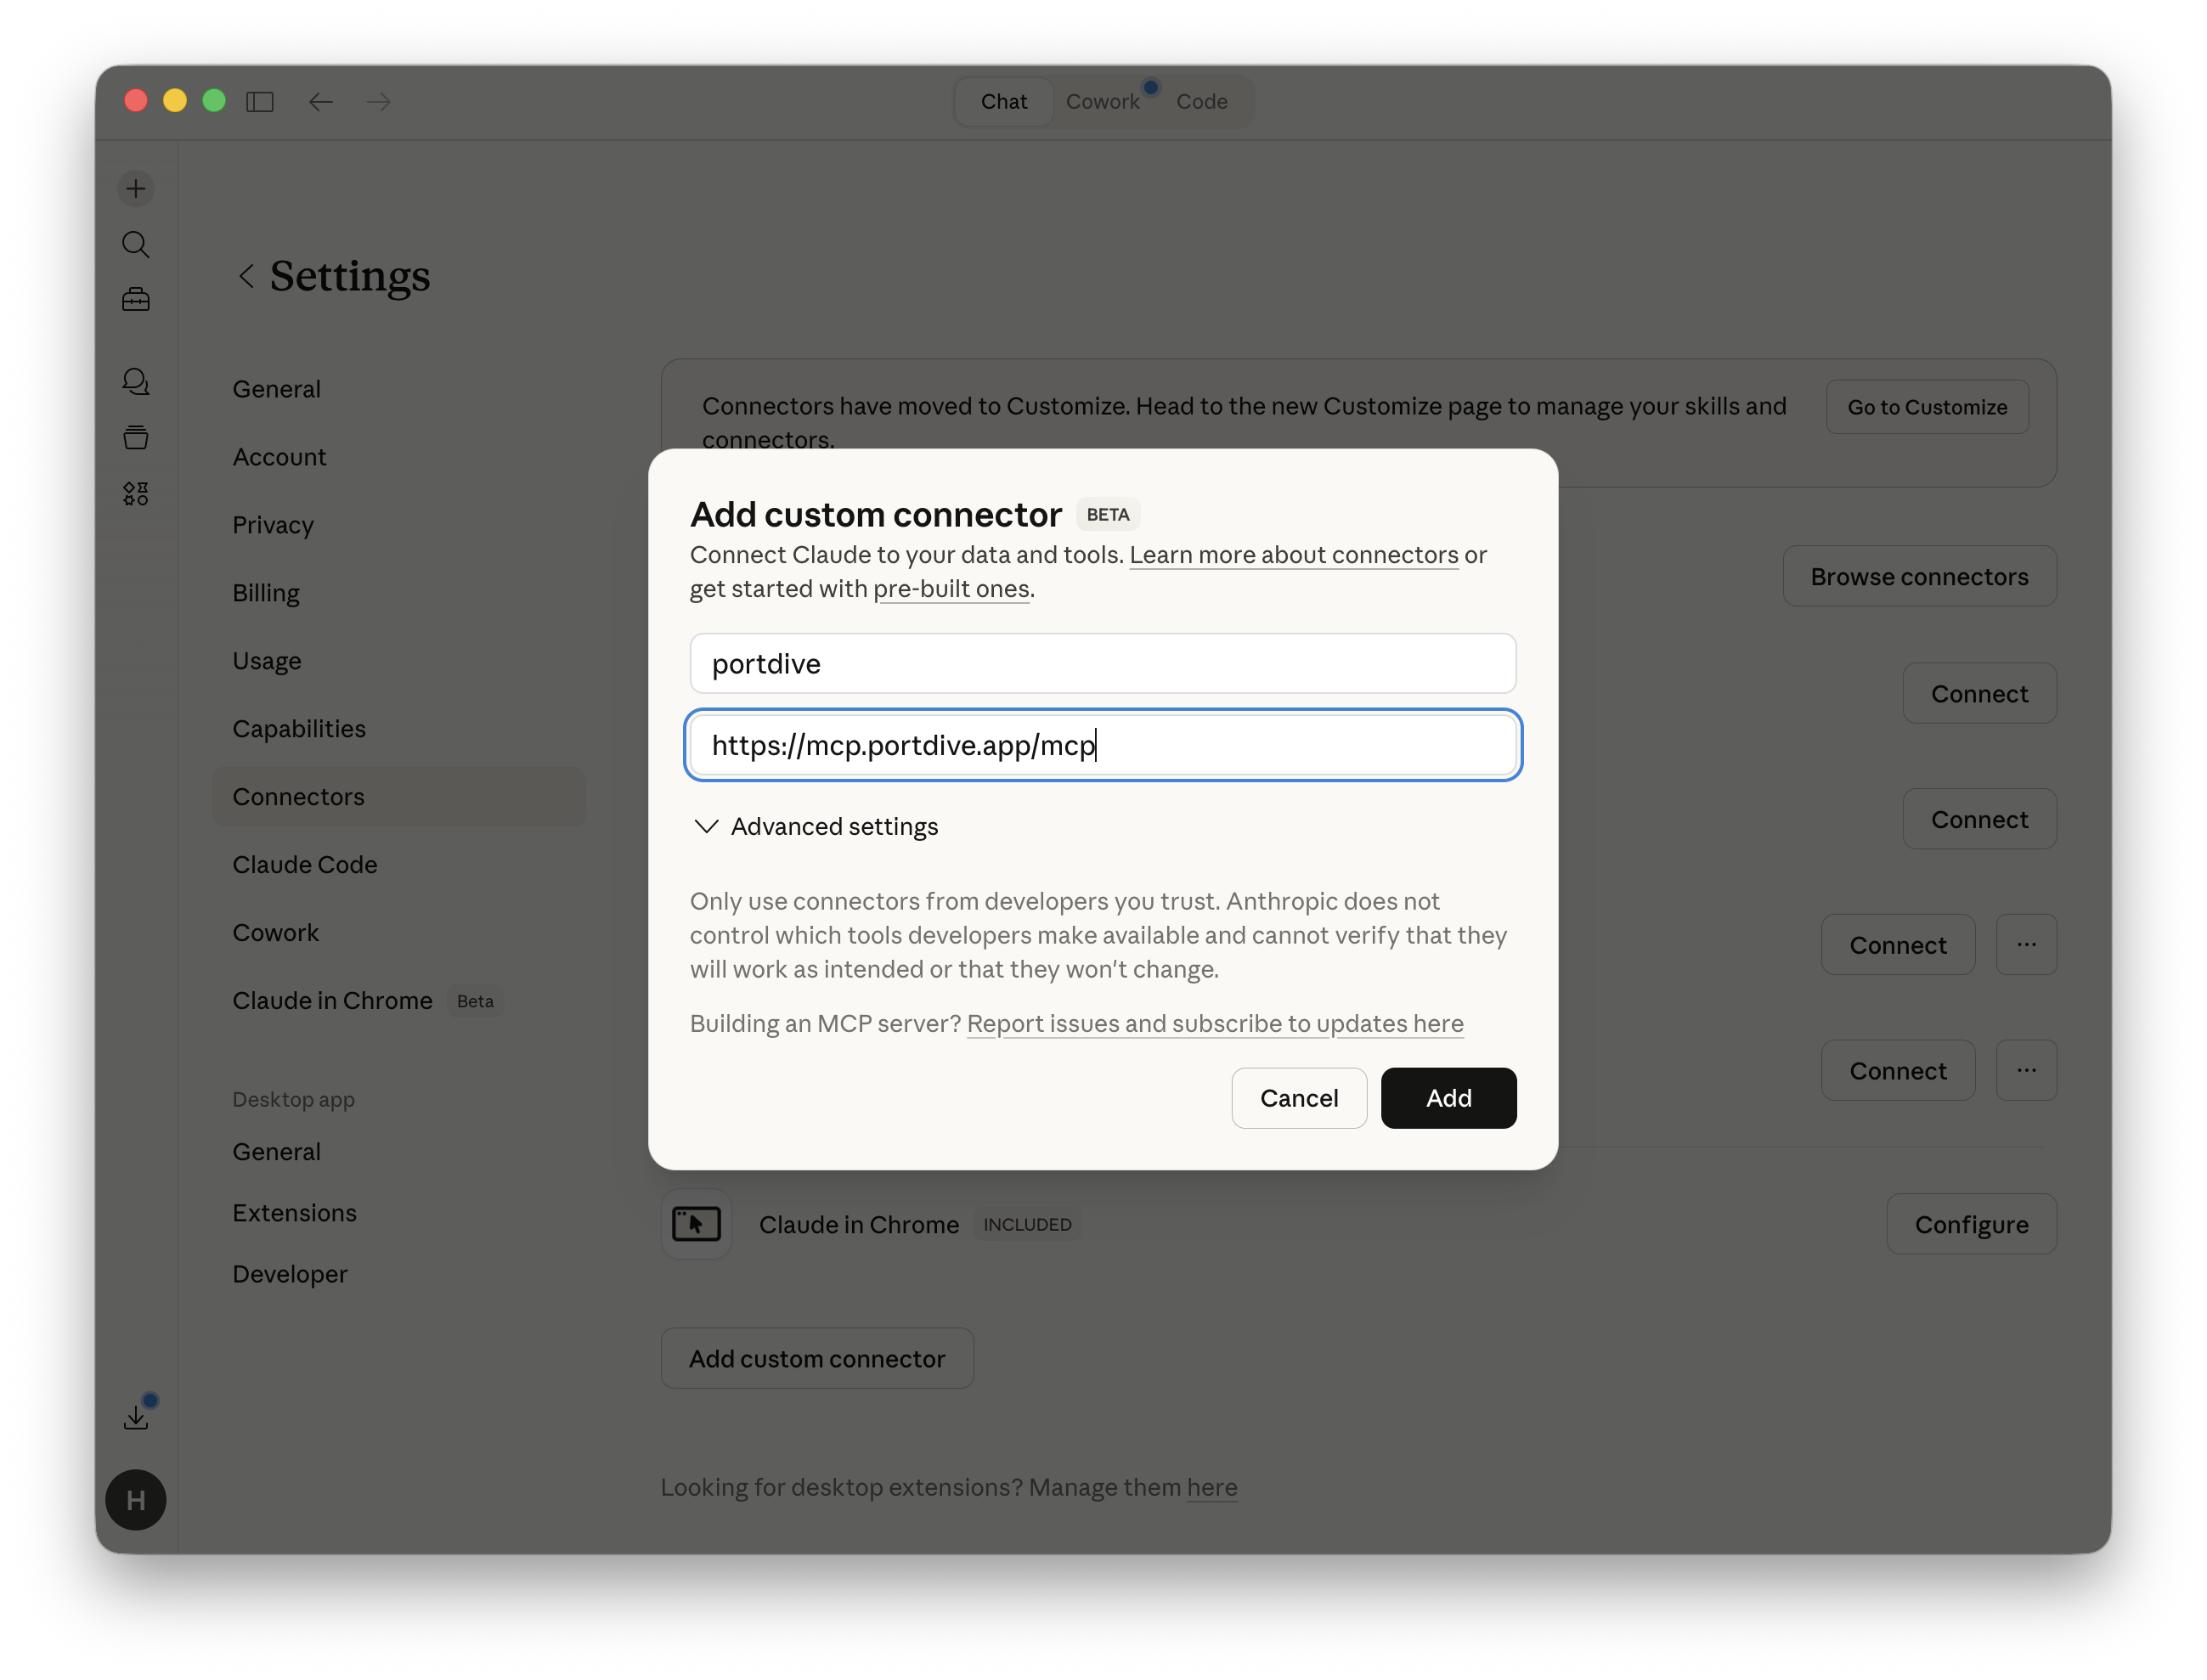
Confirm with Add. Claude registers itself via Dynamic Client Registration and creates the entry in your Connectors list.
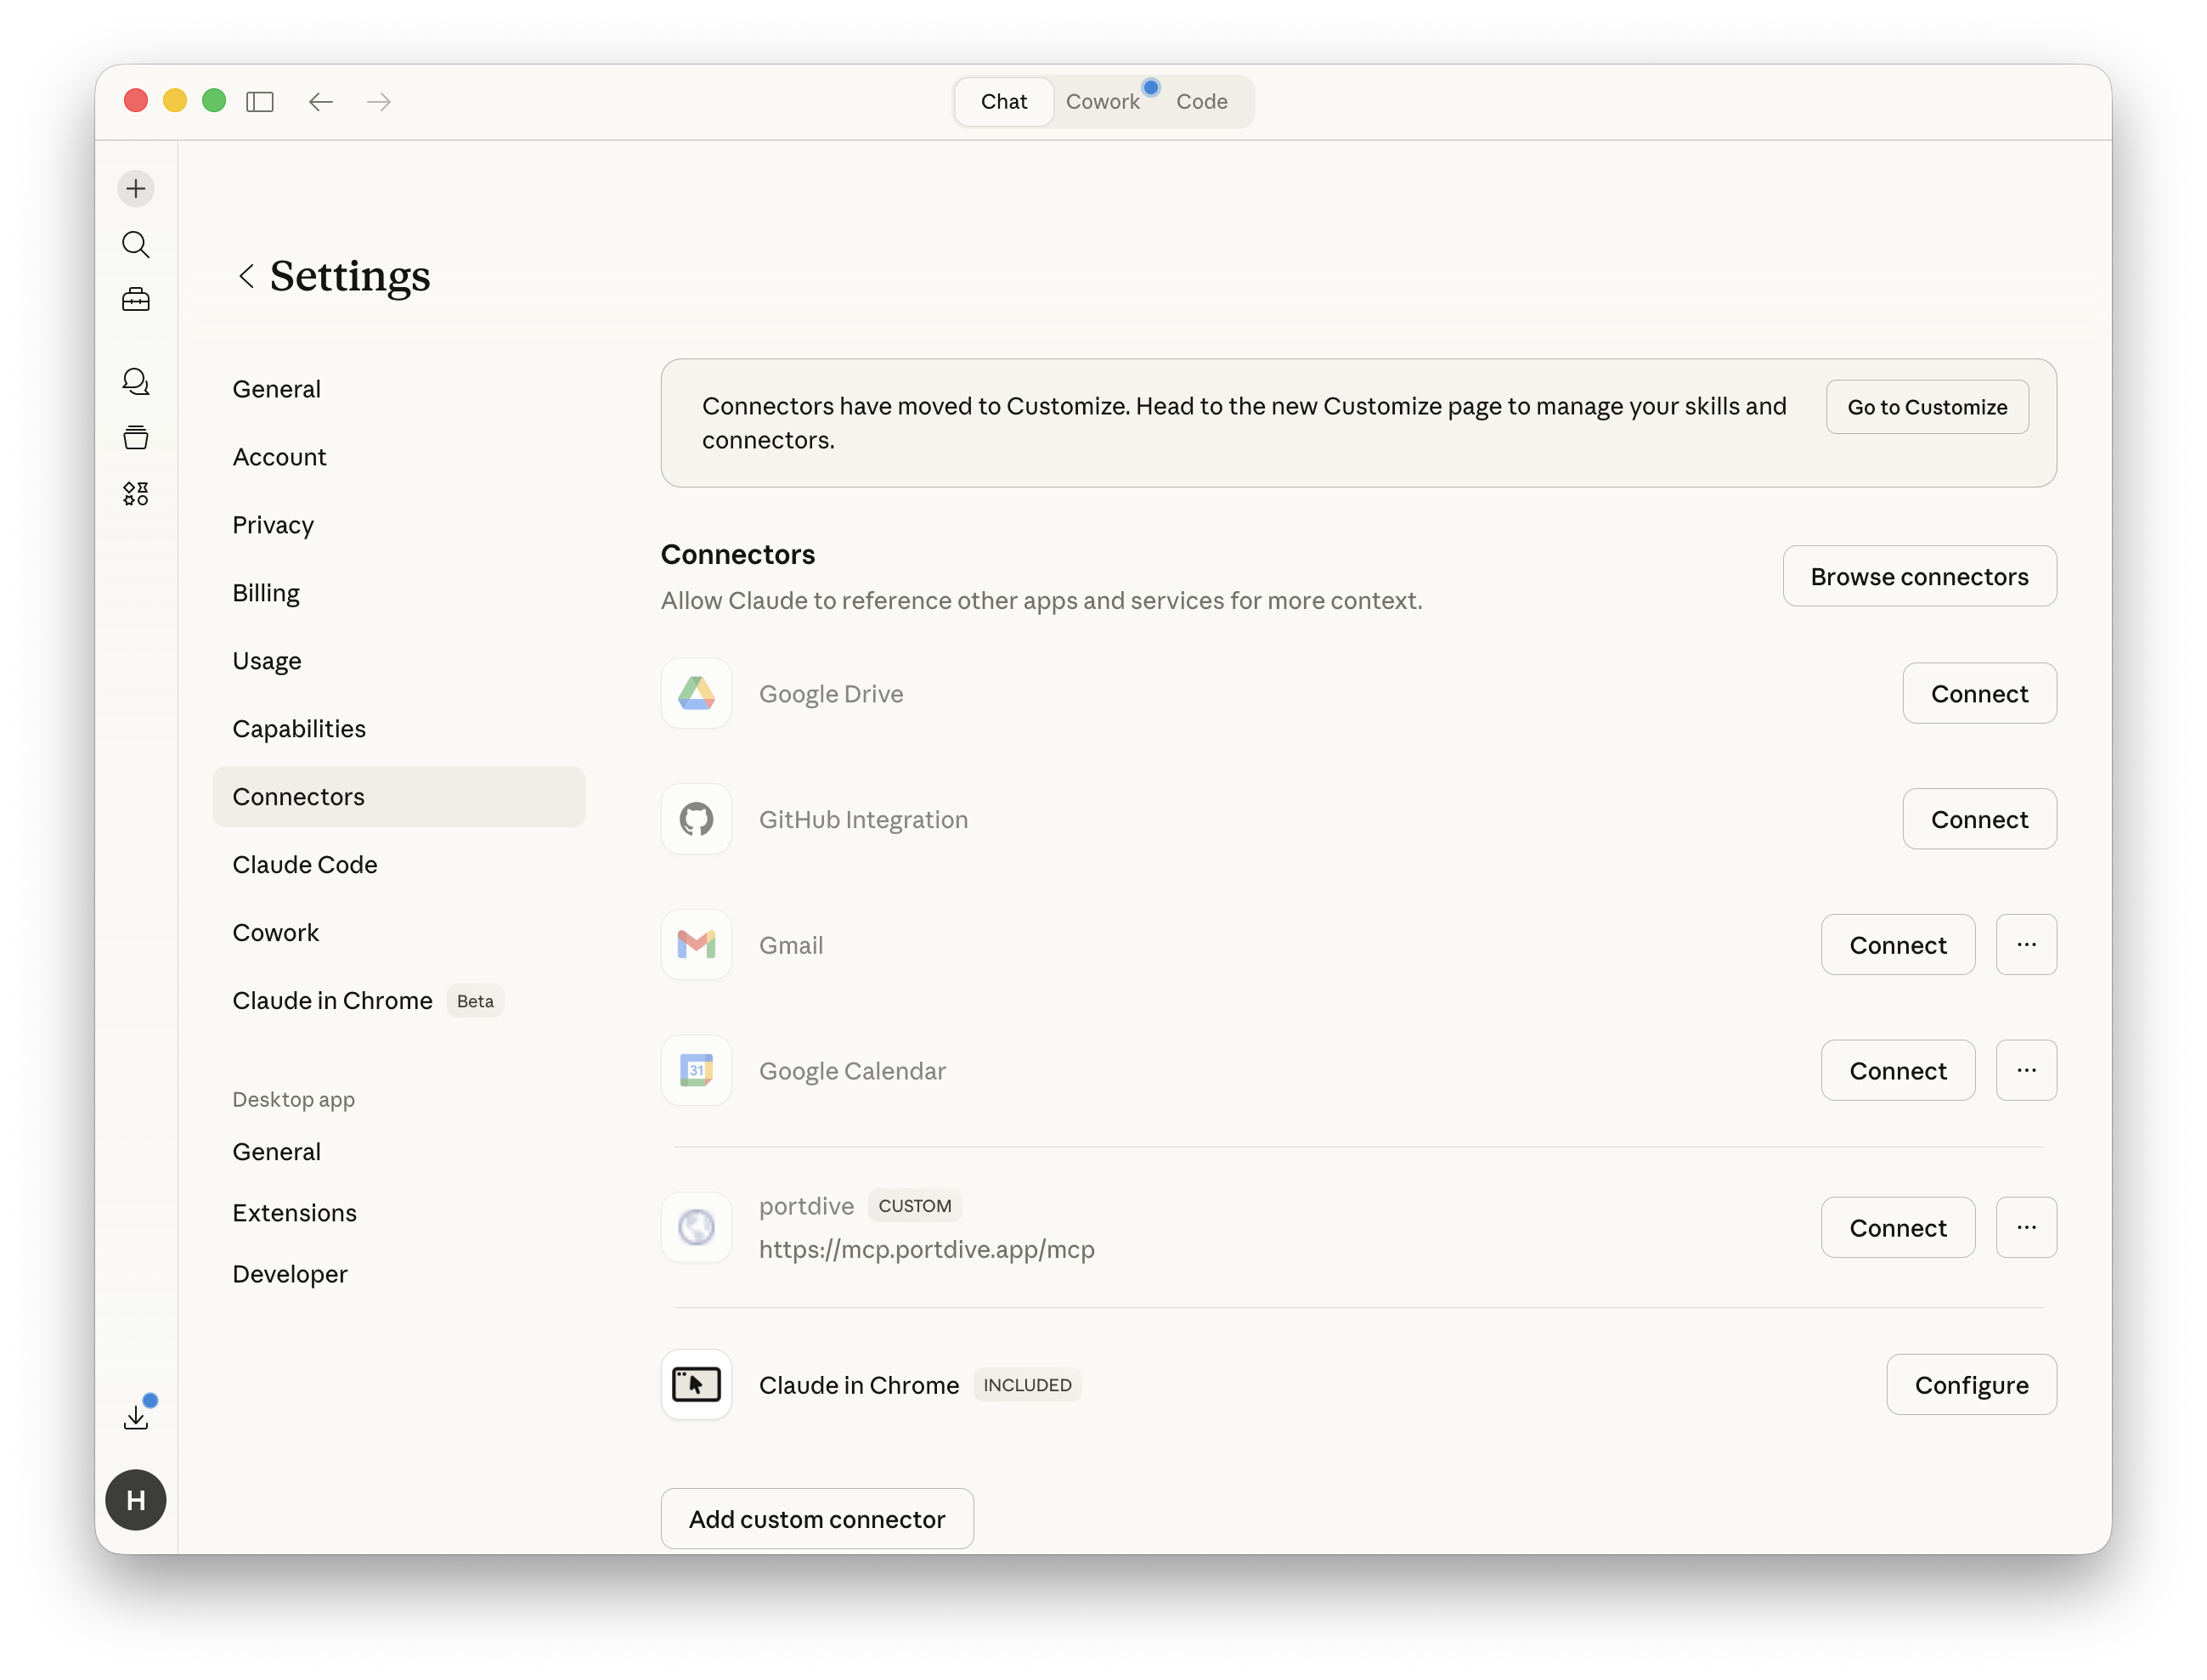
3. Connect the connector
The portdive connector appears with the CUSTOM badge and the configured URL in your Connectors list. Click Connect to start the OAuth handshake.
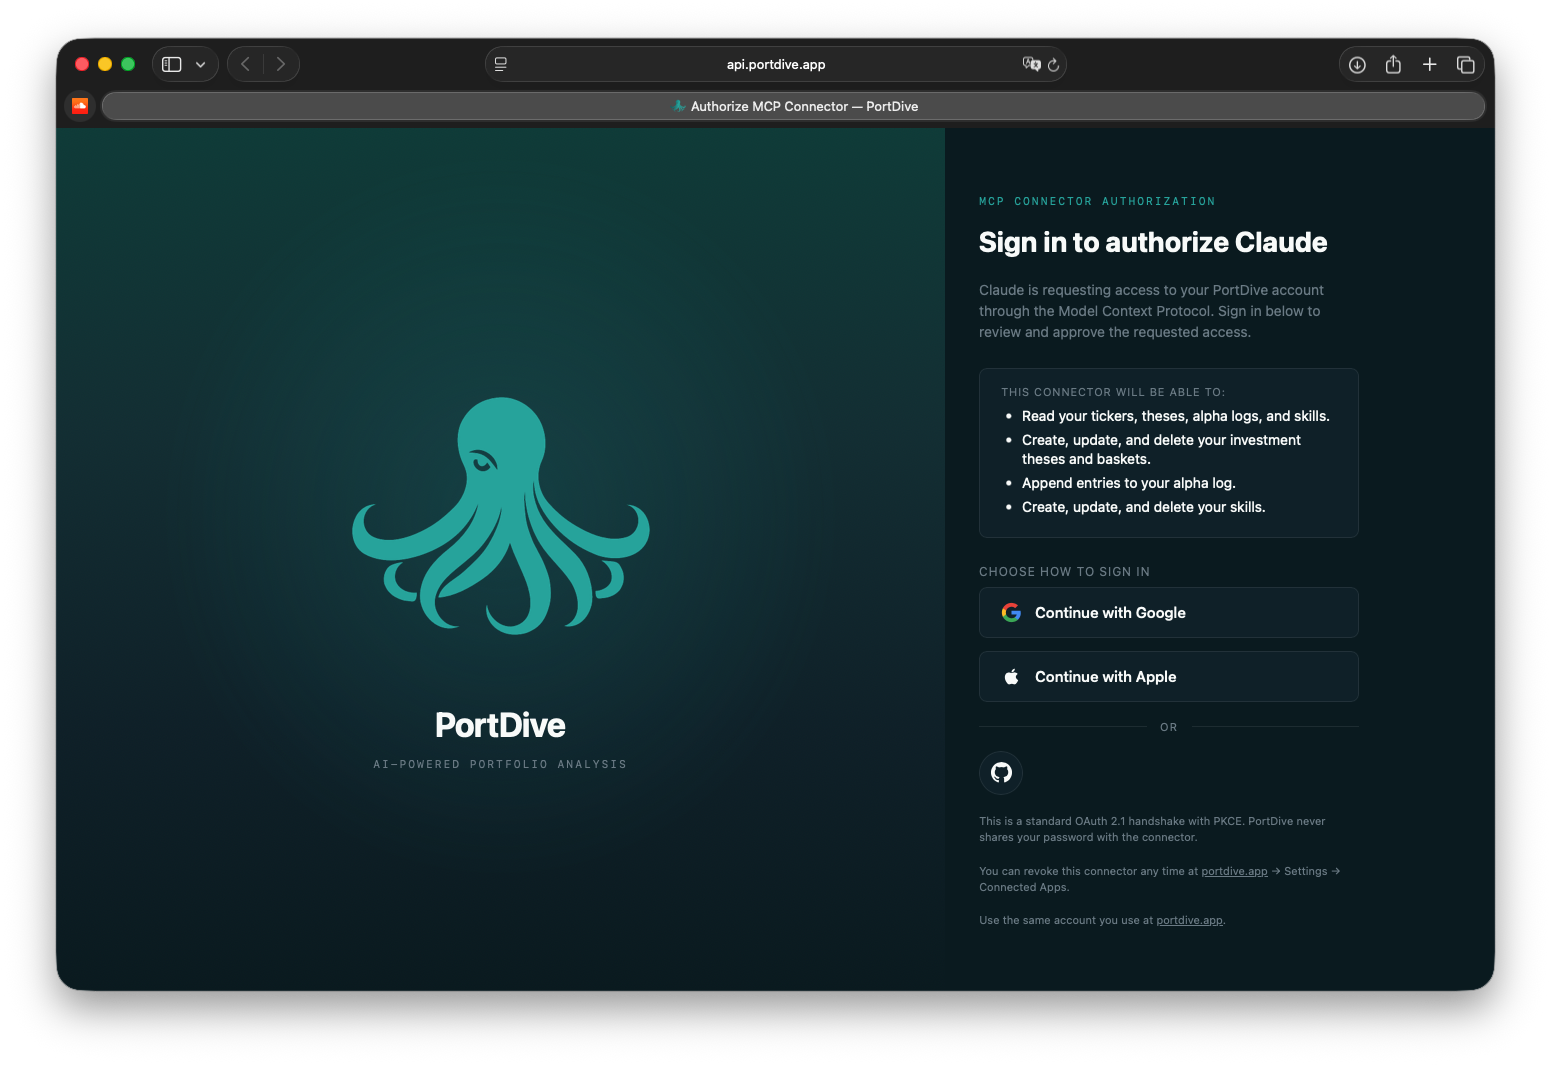
4. Sign in to PortDive
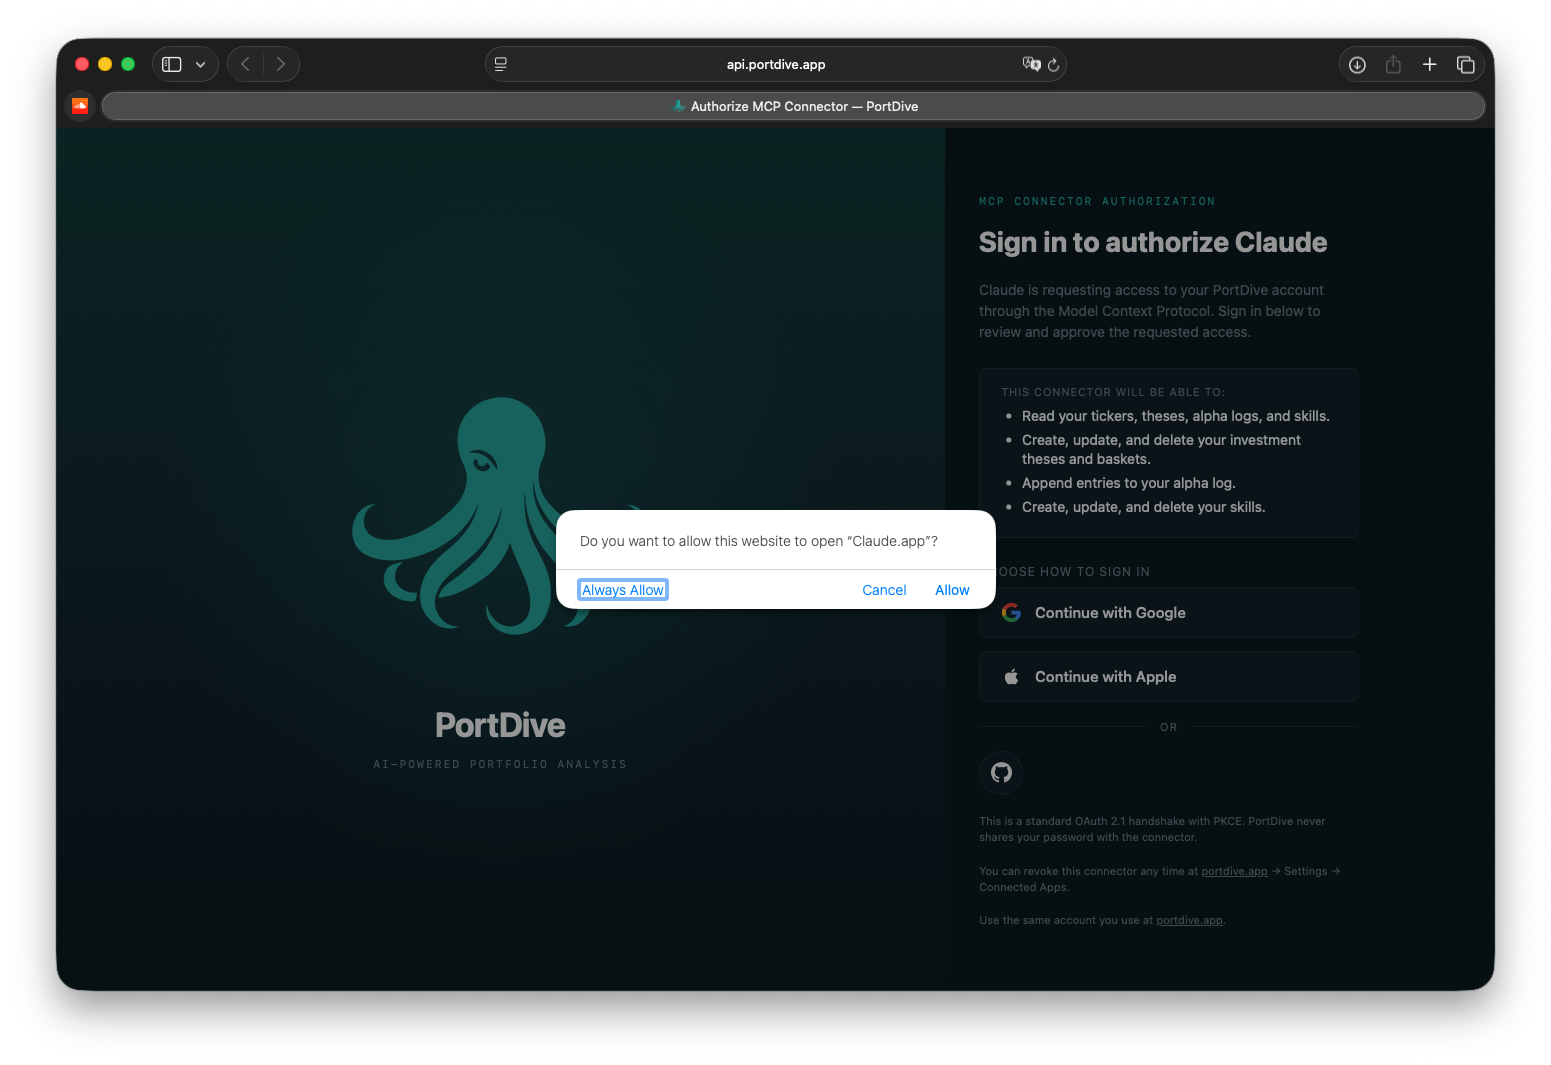
Your default browser opens on the PortDive sign-in page. Pick your preferred login (Google, Apple, or GitHub):
5. Allow the browser to return to Claude Desktop
After signing in, the browser asks whether it can open Claude Desktop. Confirm with Allow:
6. Connector active
After confirmation, the Connect button switches to Configure. The connector is now active and Claude Desktop can call the PortDive tools:
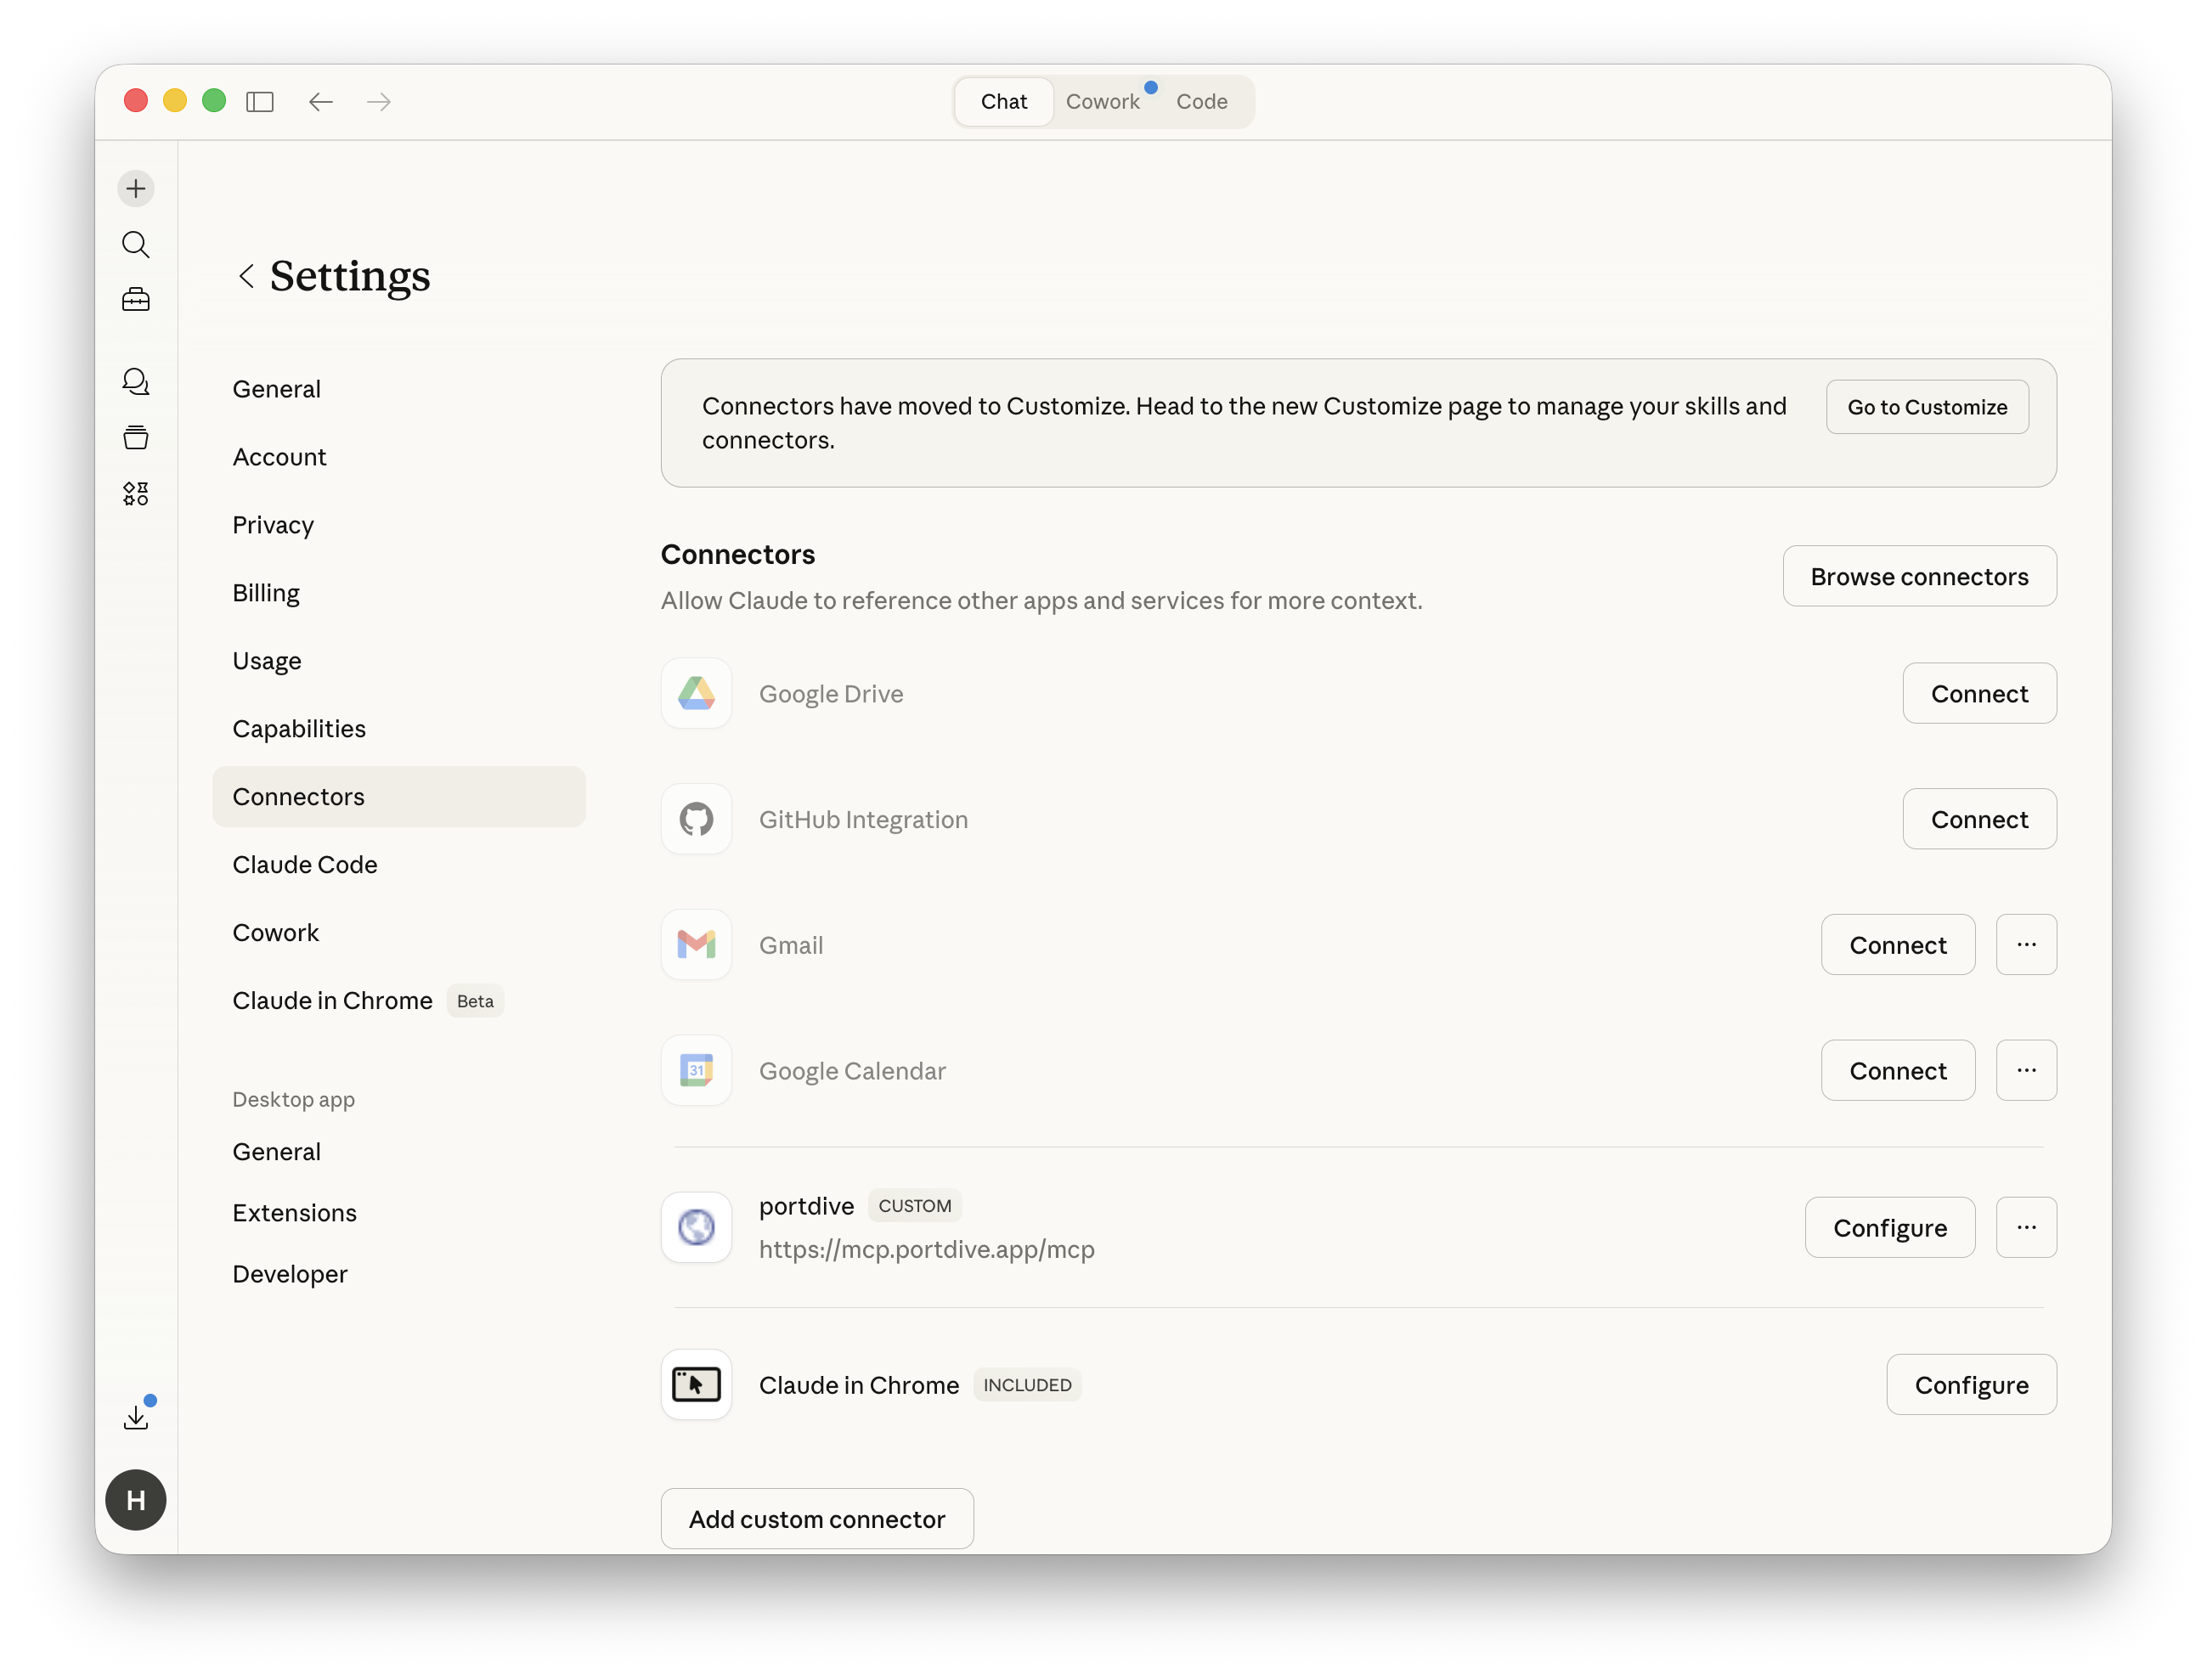
At present, Claude Desktop renders custom connectors with a generic globe icon — regardless of any logo the server advertises. Real connector icons are reserved for entries in Anthropic's official catalog. Once PortDive ships there, the octopus will appear in this slot.
7. Test the connection
Enter the following prompt in Claude:
Use the PortDive MCP server and run a health check for the thesis
"US Market Health Dashboard — SPX · SPY · QQQ · IWM" (ID 9).
Show signals, performance, and data freshness.
Claude now talks directly to your PortDive data.
No install, no token management, automatic background refresh, OAuth 2.1 + PKCE — this is the simplest and most modern path.
Alternative: local install (stdio)
Use this variant only if you prefer a local binary or need a long-lived personal access token (PAT) instead of an OAuth session — e.g. for scripting or air-gapped environments.
The setup wizard in the PortDive settings automatically creates a token and displays the ready-to-copy configuration.
macOS
1. Open Developer settings
Open Claude Desktop and navigate to Settings. You can access settings via the menu or ⌘ + ,.
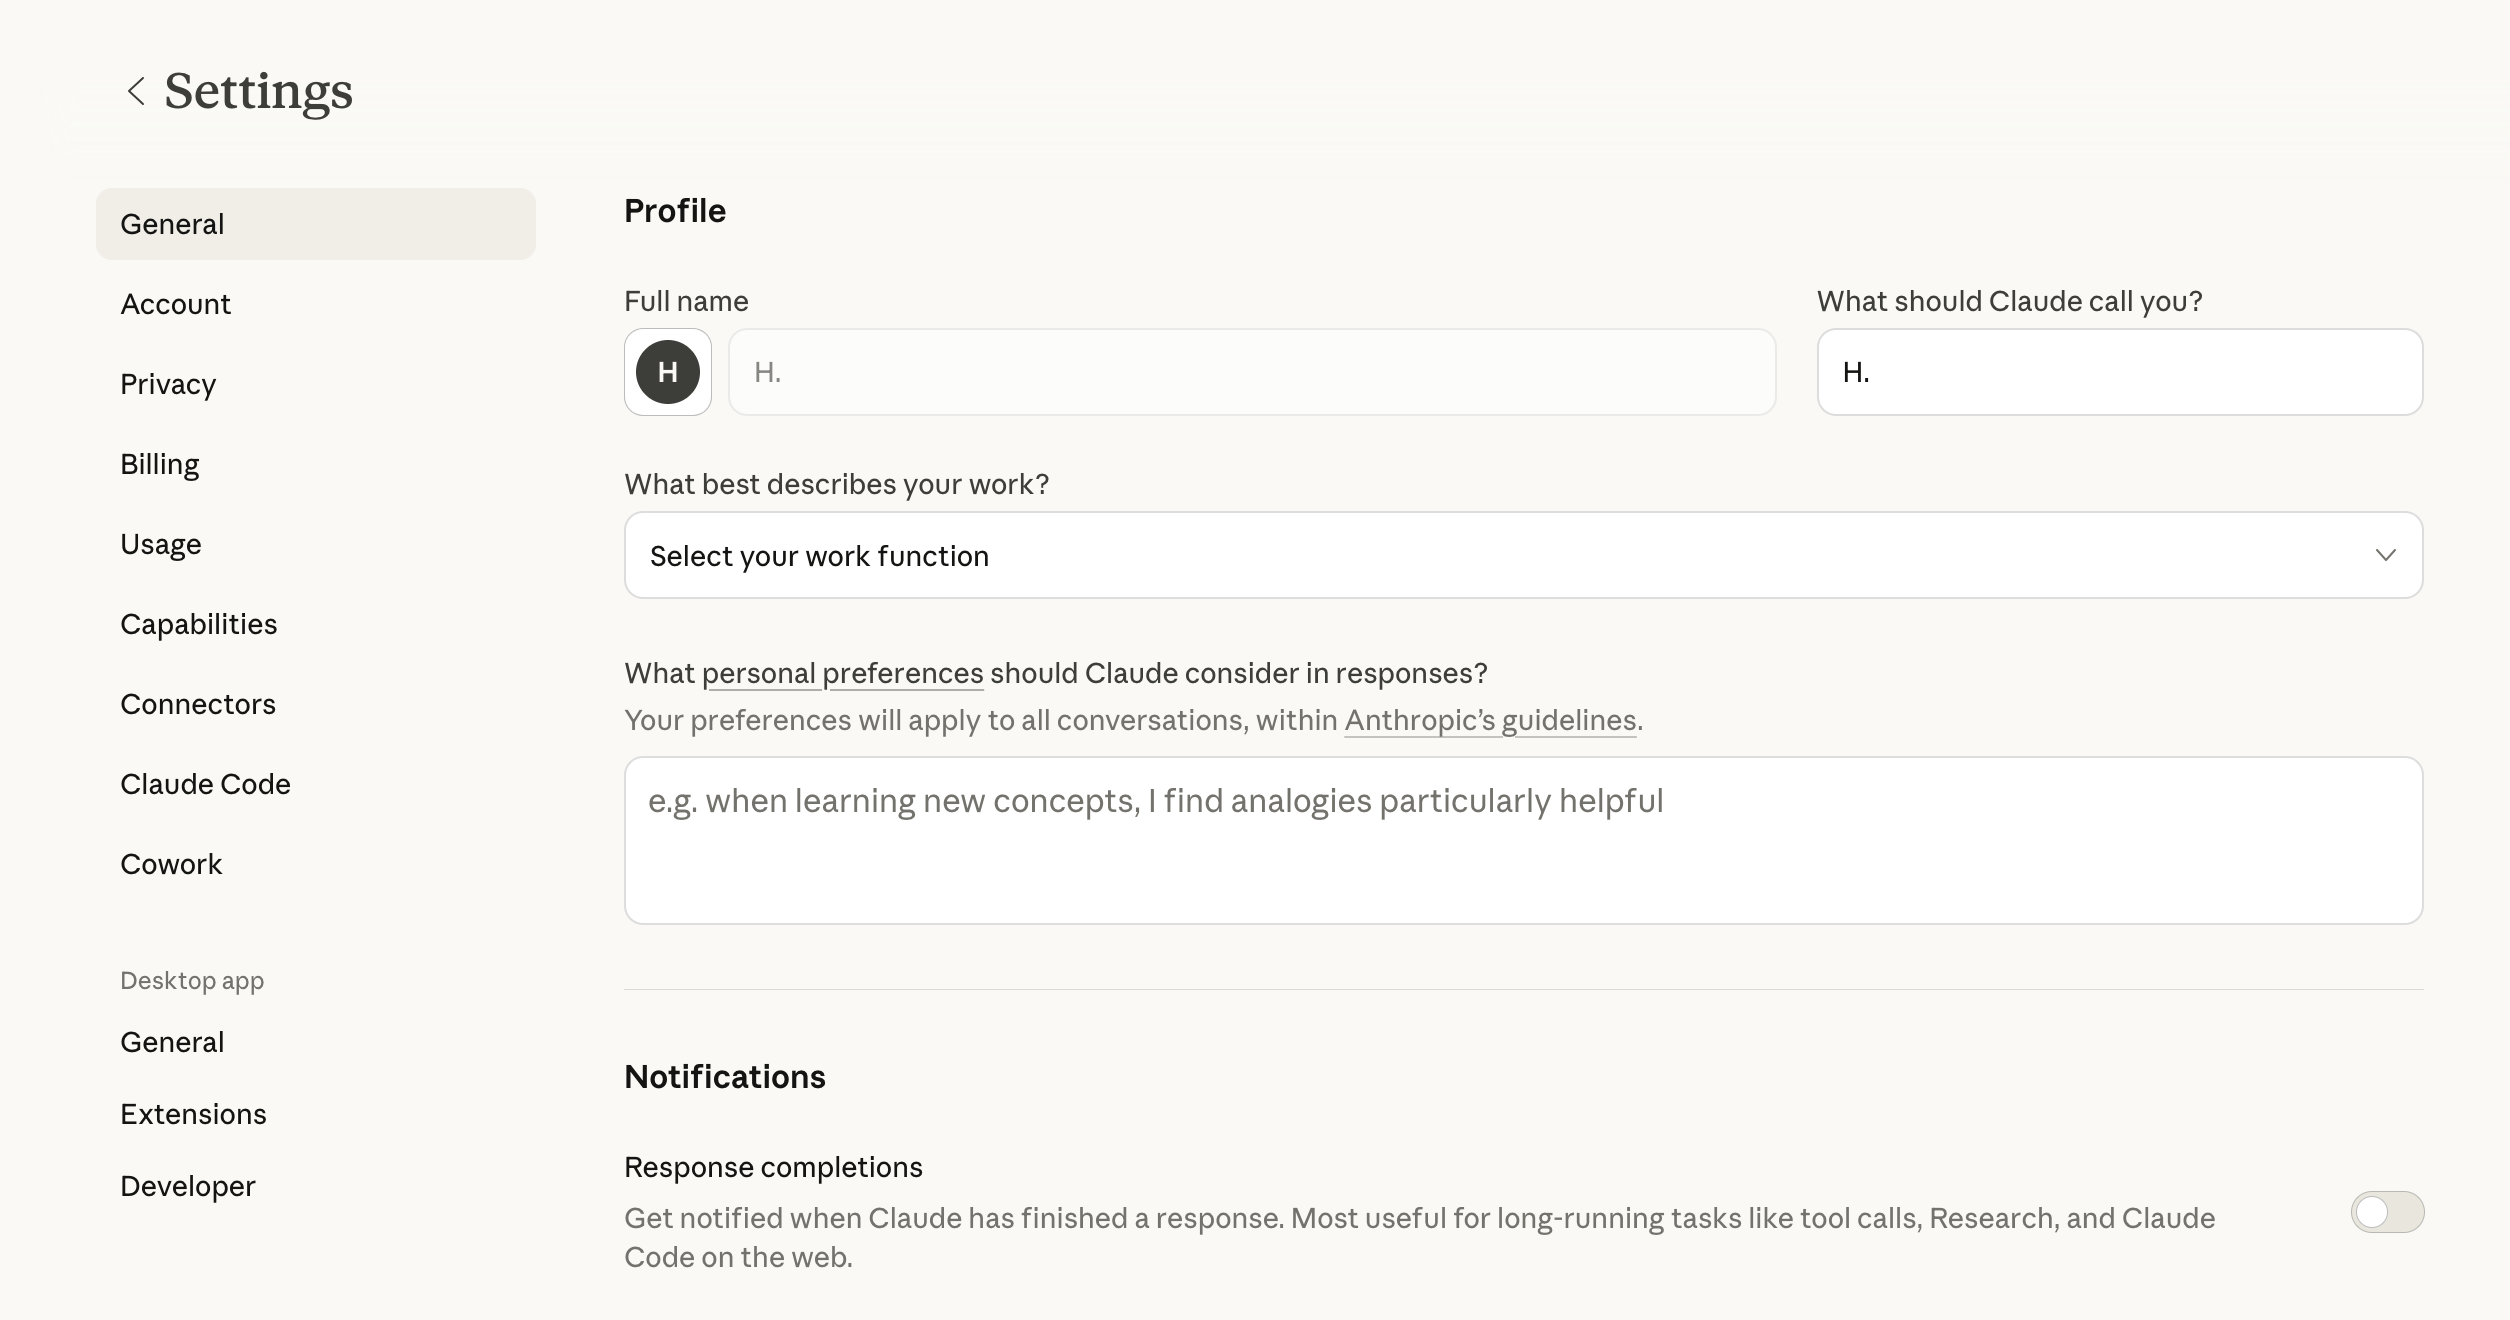
Select Developer under Desktop app in the left menu:
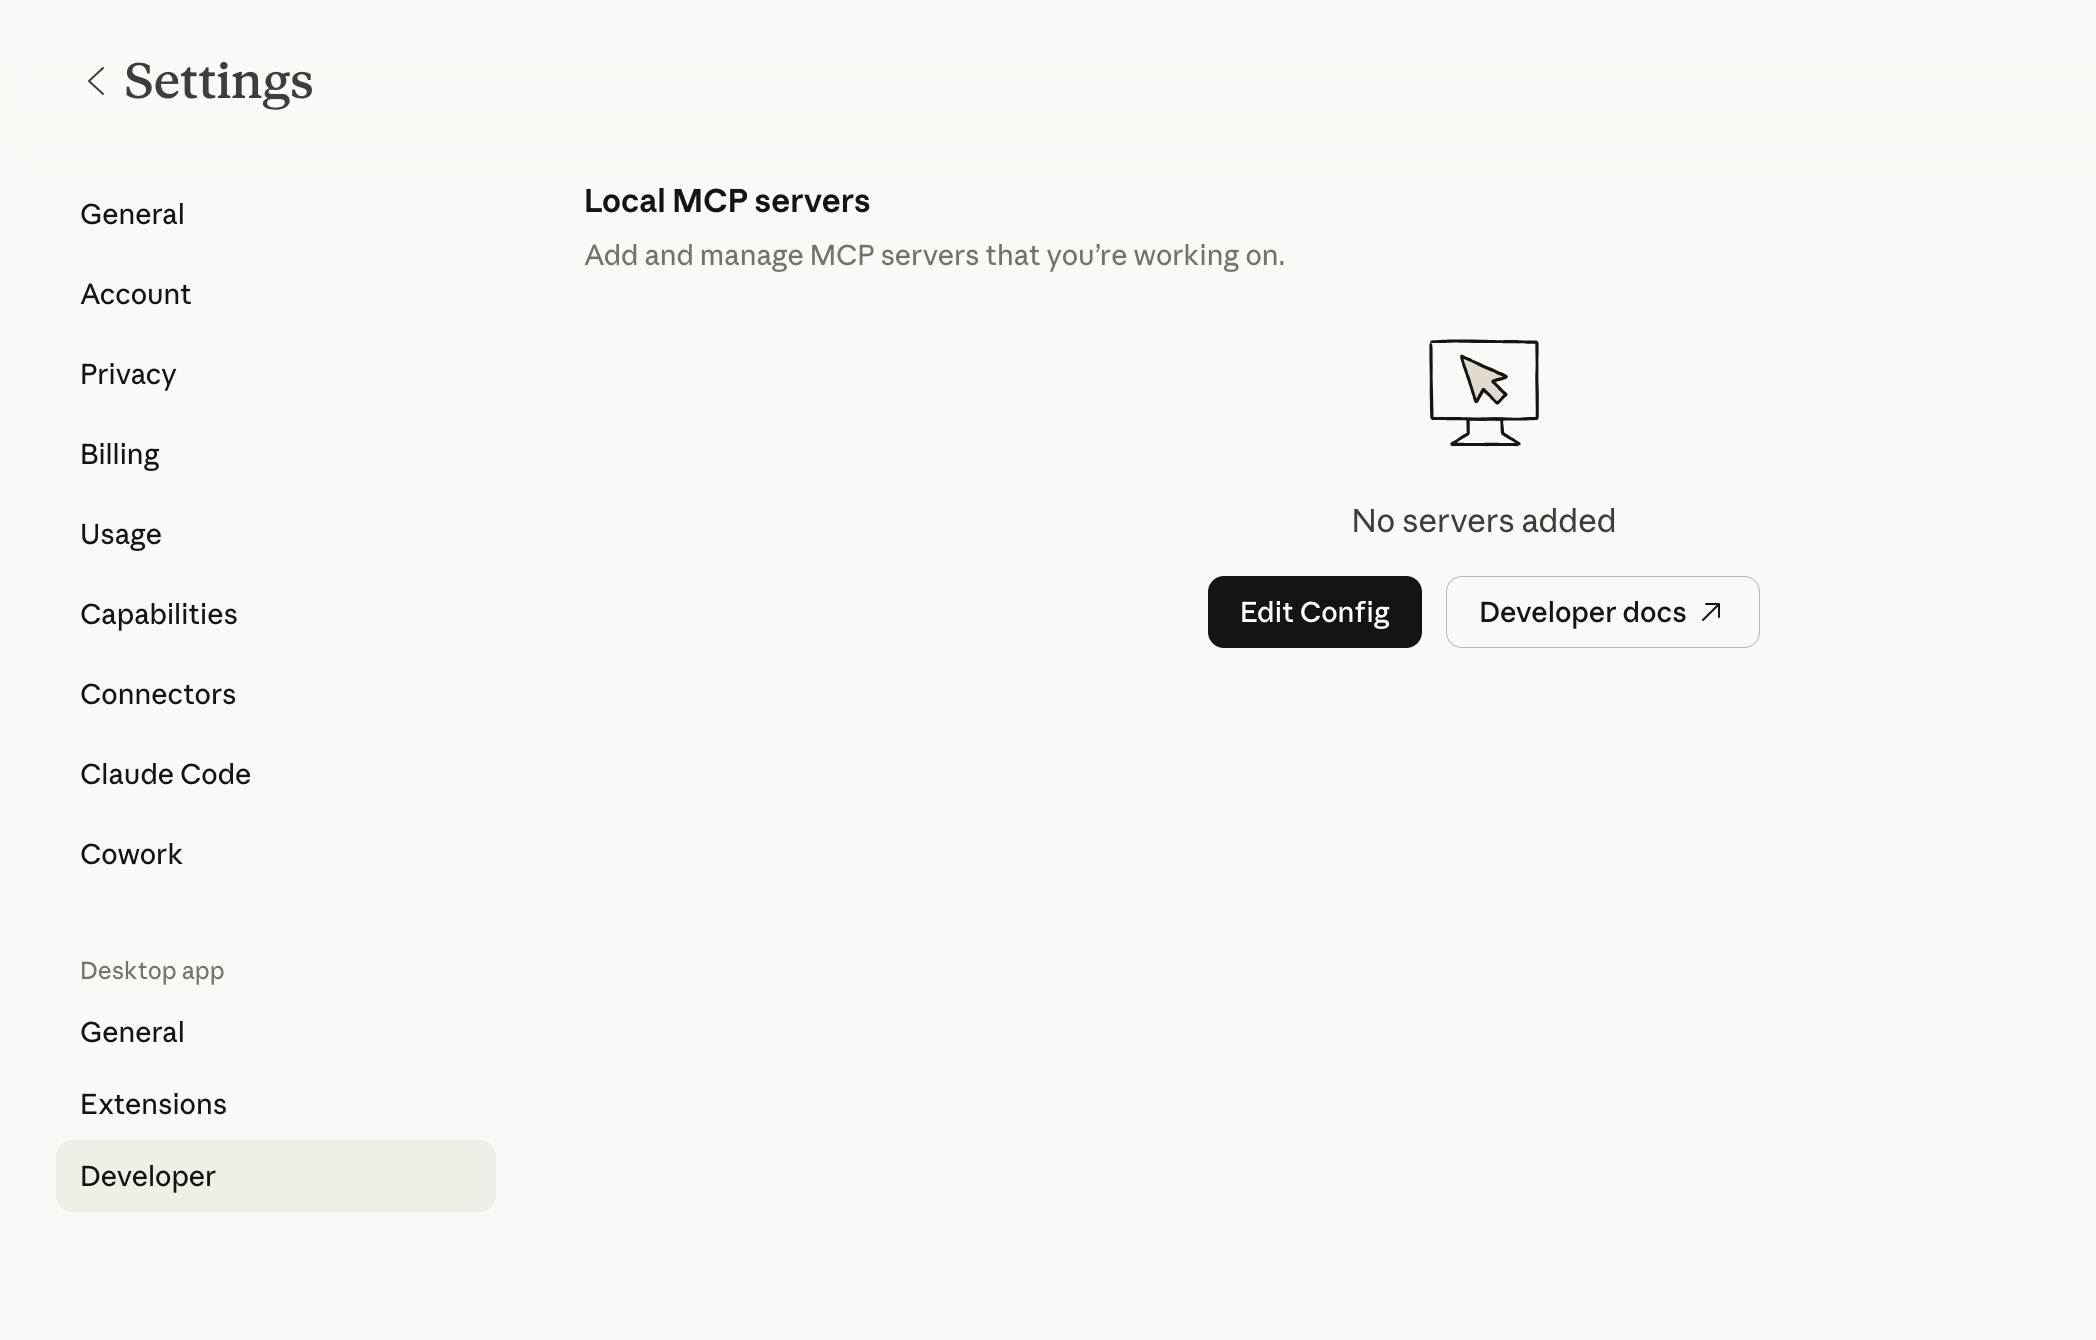
2. Edit configuration file
Click the Edit Config button. This opens the folder containing the configuration file:
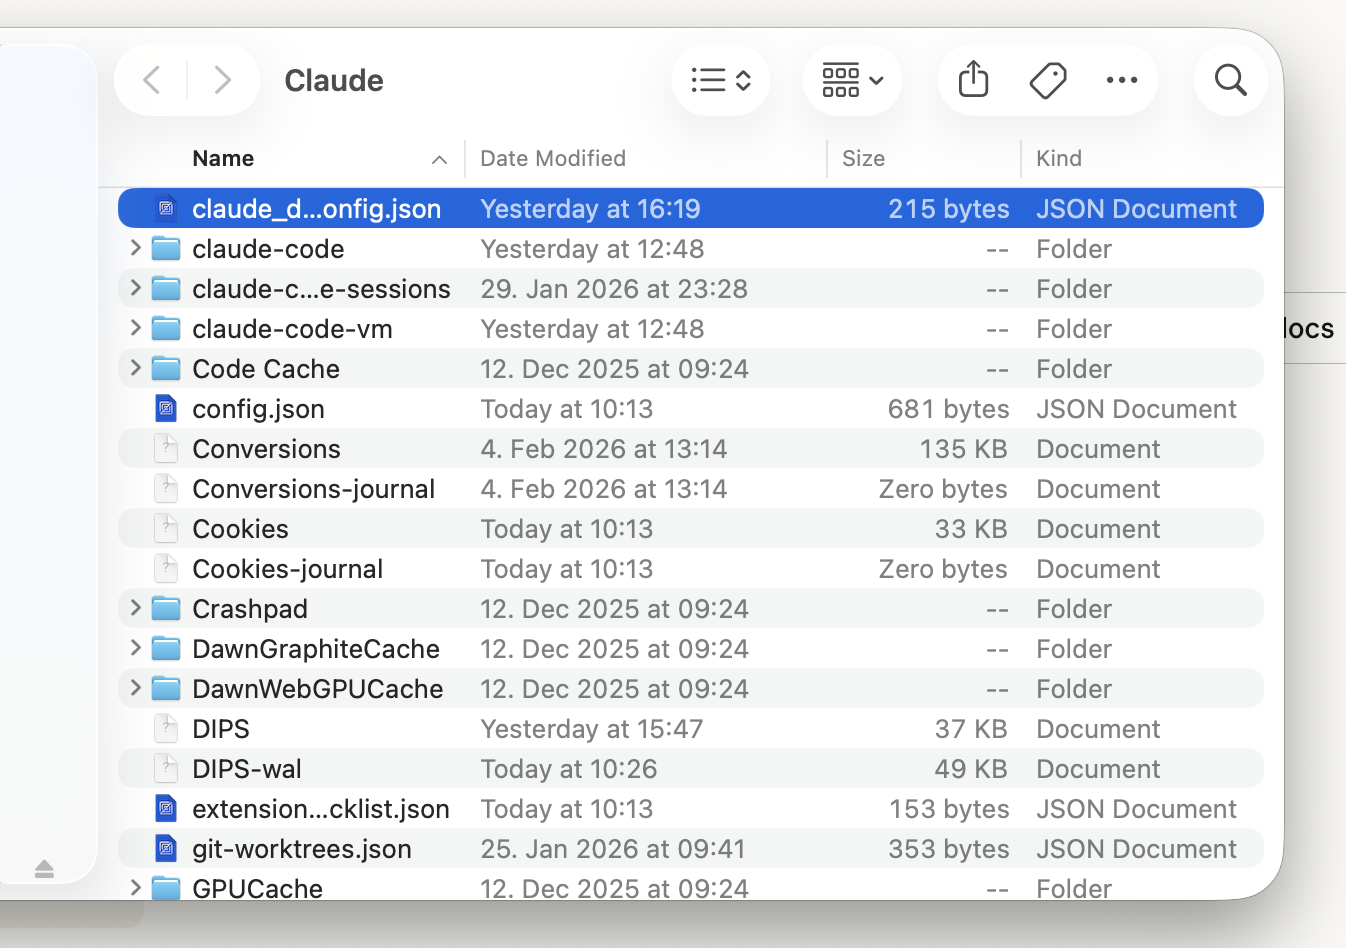
Open the file claude_desktop_config.json with a text editor (e.g., TextEdit, VS Code, or your preferred editor).
The configuration file is located at:
~/Library/Application Support/Claude/claude_desktop_config.json
3. Add MCP server configuration
You'll see a JSON file with an empty "mcpServers": {} entry:

Replace the empty "mcpServers": {} block with the following configuration. You'll get the token from the setup wizard — it's automatically created and ready to copy:
"mcpServers": {
  "portdive": {
    "command": "/usr/local/bin/portdive-mcp",
    "env": {
      "PORTDIVE_ACCESS_TOKEN": "pdv_YOUR_TOKEN_HERE"
    }
  }
},
Replace pdv_YOUR_TOKEN_HERE with your personal access token. The result should look like this:
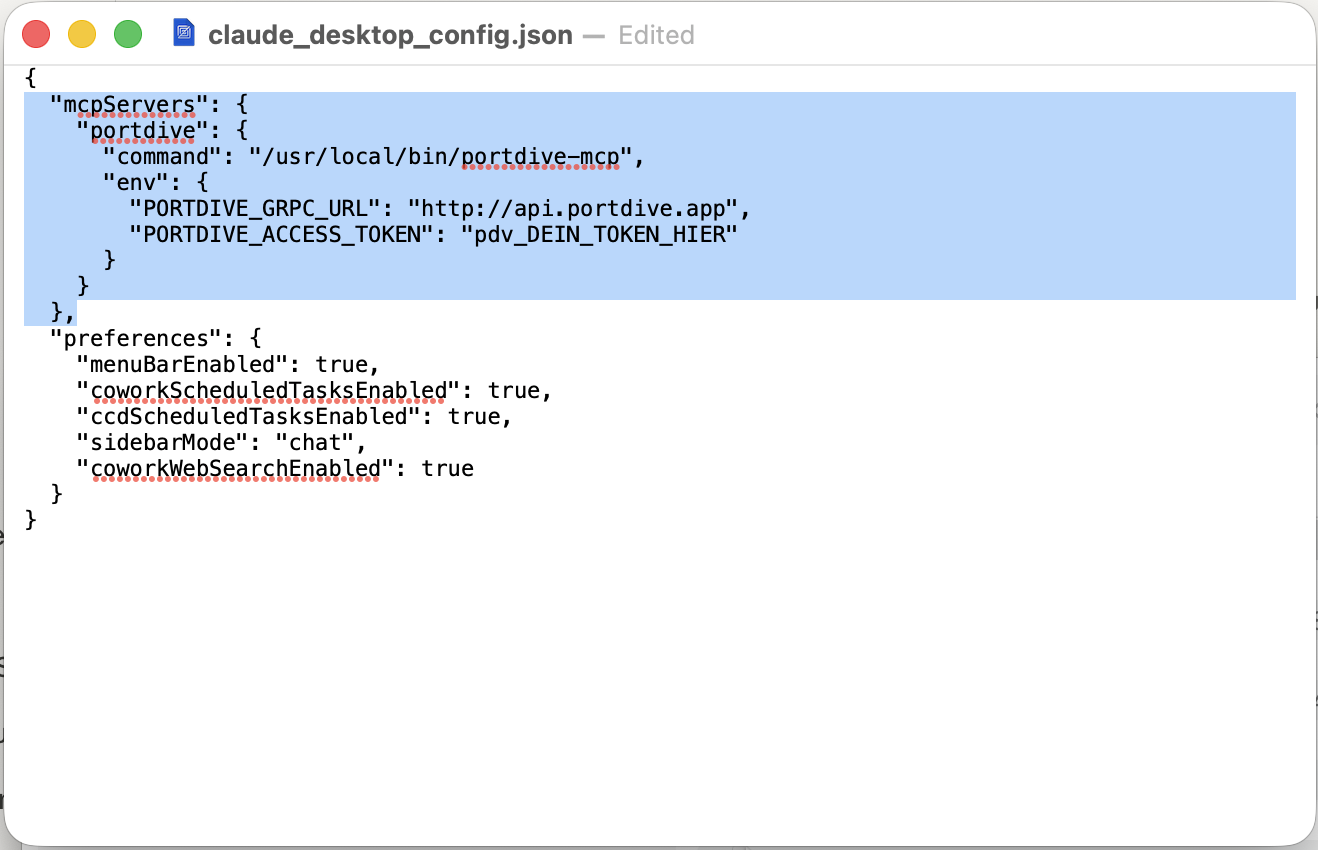
Make sure there is a comma after the closing brace of "mcpServers" if other entries like "preferences" follow. The setup wizard already includes the trailing comma.
4. Save and restart
- Save the file (
⌘ + S) - Quit Claude Desktop completely (
⌘ + Q) - Restart Claude Desktop
5. Test the connection
Enter the following prompt in Claude to test the connection:
Use the PortDive MCP server and run a health check for the thesis
"US Market Health Dashboard — SPX · SPY · QQQ · IWM" (ID 9).
Show signals, performance, and data freshness.

If the connection is successful, Claude will display signals, performance, and data freshness for the thesis.
Windows
The local Windows installer is being prepared alongside the Windows binary. In the meantime use the Remote Connector — it works on every platform.
Next step: Learn more about using the MCP server in your daily workflow.